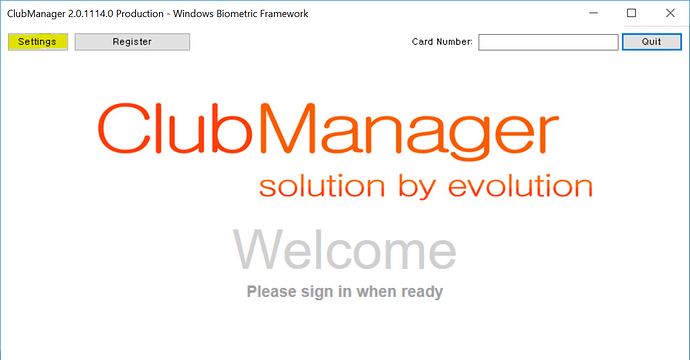
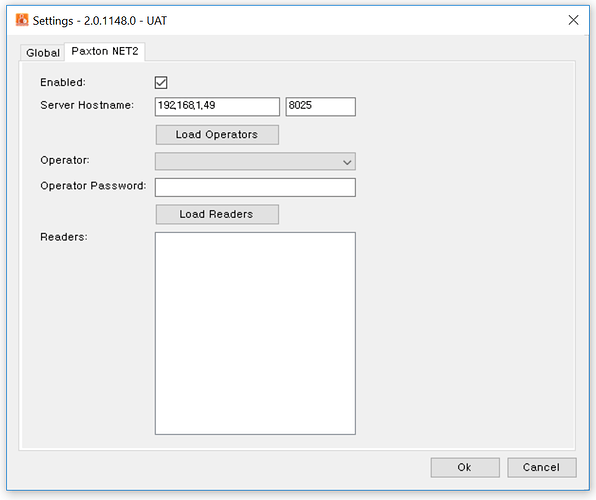
Once the client has been installed using the instructions at How do I install the ClubManager client click the Settings button.
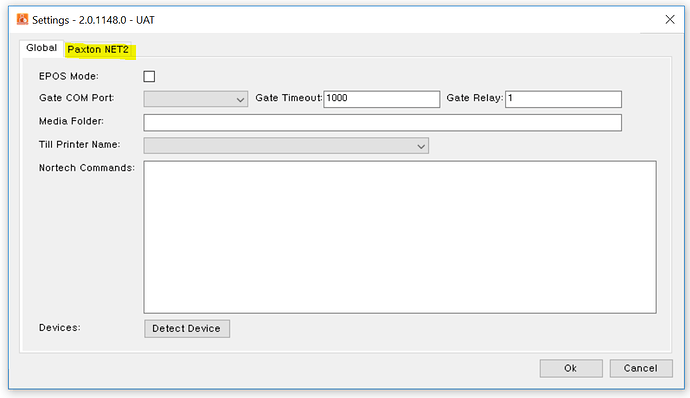
On the Settings page, click the Paxton NET2 tab. If the Paxton NET2 tab is not available please make sure you have installed the correct version referred to at How do I install the ClubManager client
You will need to know either the IP Address or the host name and the port of your Paxton NET2 server, the Paxton NET2 installer should be able to assist you in supplying this.
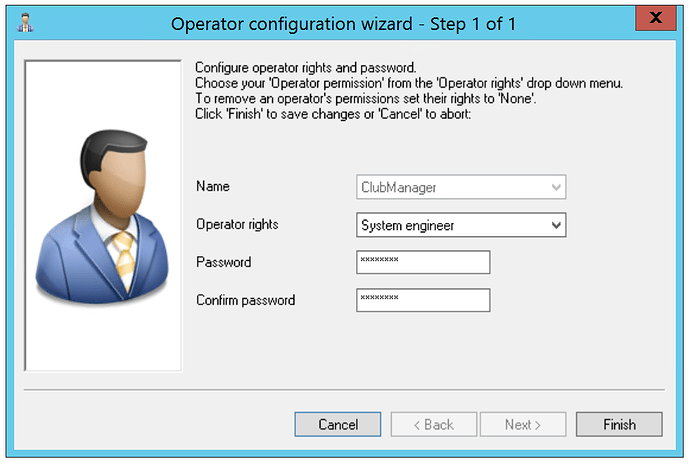
We recommend that a ClubManager operator be setup in the Paxton NET2 system so you can identify when ClubManager provides access.
Create a new Department called ClubManager:
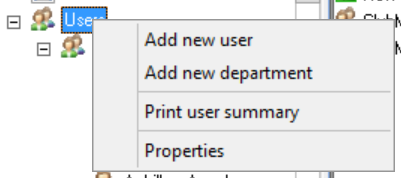
and an Access Level called ClubManager:

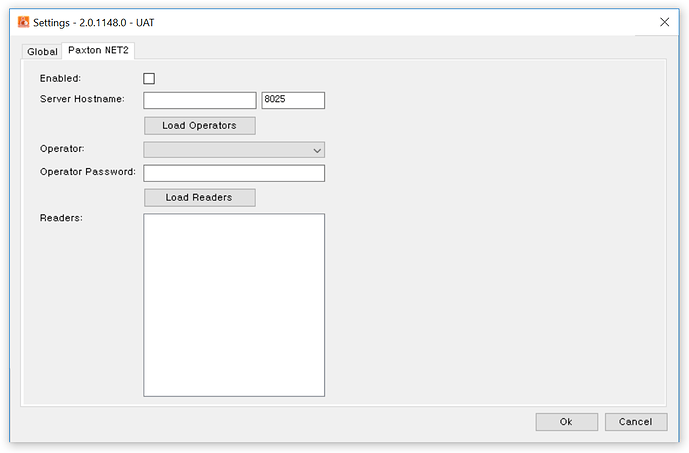
Enter the hostname and port (the default port is 8025 and it is unlikely that you will need to change this).
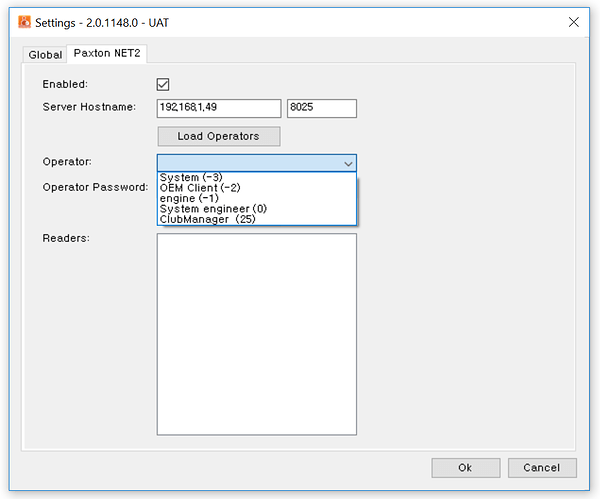
Click the Load Operators button which will attempt to communicate with the Paxton system to retrieve the available operators.
Select from the available operators either the ClubManager operator or the operator you would like the ClubManager client to use.

Enter the password for the operator into the Operator Password textbox.
![]()
Click the Load Readers button which will show a list of all the configured Paxton NET2 ACU’s (access control unit’s).
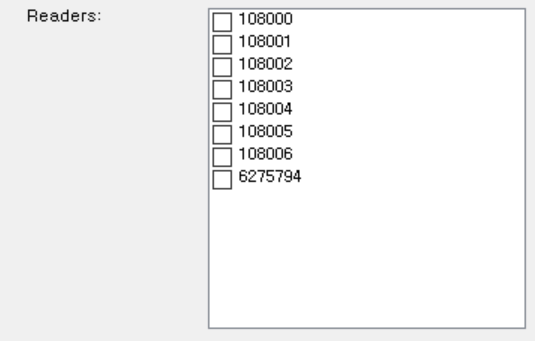
Check the unit’s that you would like the ClubManager client to listen to.
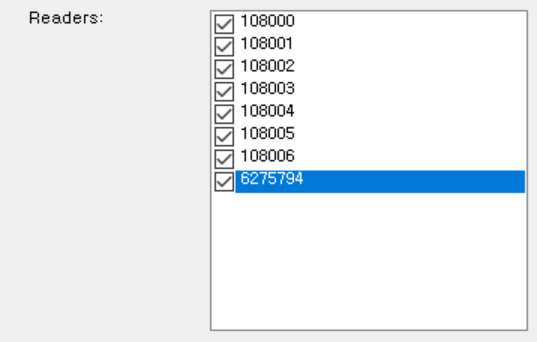
Once you are happy with the settings click the  button.
When an event is raised by any of the ACU checked in the Paxton NET2 settings the ClubManager client will determine if the Token number from the card or PIN code entered is associated with a Member in ClubManager, if the Member can be found and they have a valid active membership then the door / turnstile attached to the ACU will be opened.
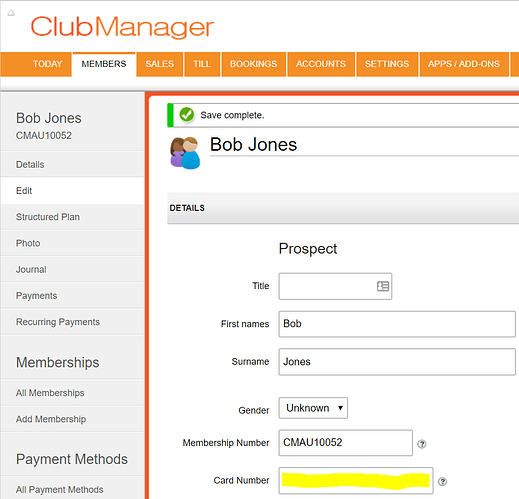
Don’t forget that the Token or PIN code needs to be configured in ClubManager for the client to find the Member.
The ClubManager client supports versions 5.0.1, 5.0.3 and 6.0.0 of Paxton NET2.

